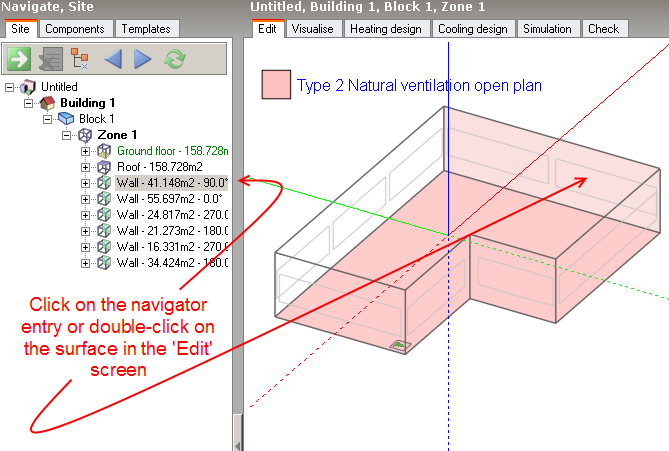
This section describes the operations involved in creating surface openings and sub-surfaces. To create openings and sub-surfaces in a zone surface, you first need to go to the surface that you want to modify. You can do this from the zone level either by clicking on the navigator entry or double-clicking on the zone surface in the 'Edit' screen, if you're at the zone level.
Either of these operations will take you to the surface:

Note: When navigating to surfaces from zone level by clicking on them with the mouse, to access the "backward-facing" surfaces (i.e. surfaces whose inside face is shown) you must hold the Shift key down while clicking.
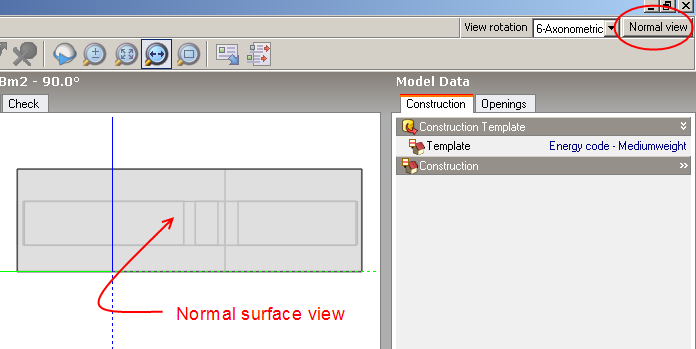
When working with surfaces, switching to Normal view rotation can be helpful in orientating openings and sub-surfaces:
You can draw, move, clone (copy), rotate and delete the following types of opening:
Note that custom openings that have been drawn by hand or copied are displayed in bright colours to differentiate them from (grey) default openings:
Note: All openings and sub-surfaces in adiabatic surfaces are ignored in EnergyPlus simulations
 See also the Drawing Openings on Surfaces Tutorial