One or more layouts can be selected from the Layouts list on the Management dialog. When multiple layouts are selected the sum of all attributes from each layout is used to determine which model data will be presented.
Multiple layout selection is achieved using the <Ctrl> key and selecting additional layouts under the same level grouping. To select multiple layouts for viewing / editing they must be under the same level grouping, e.g. Zone.
Once selected, model data for the chosen layout(s) can be viewed or edited by clicking the View or Edit button under the Model Data header on the Model Data Grid View Management dialog. This causes the selected model data to be loaded into the Model Data Grid dialog.
The only difference between view and edit modes is that in edit mode the data can be edited, while in view mode it cannot. The section below explains how to switch between the two modes.
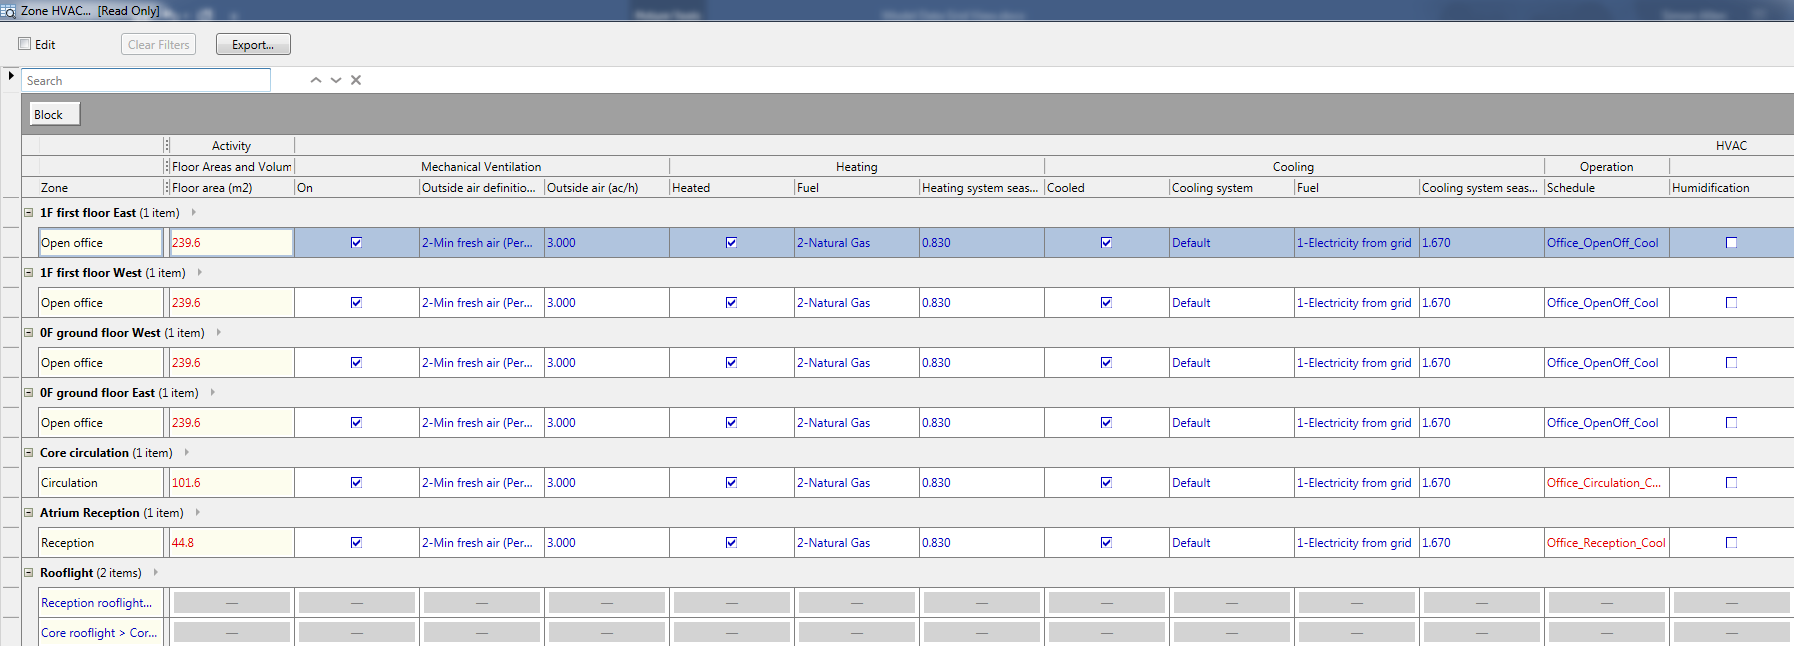
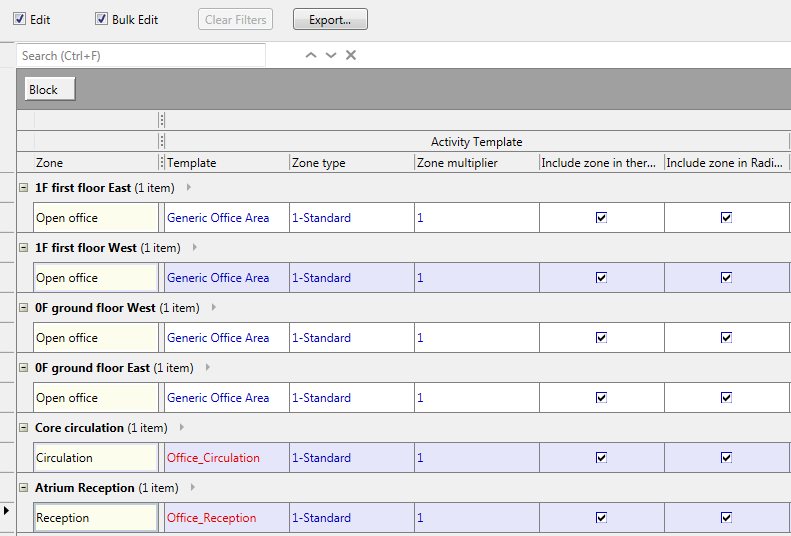
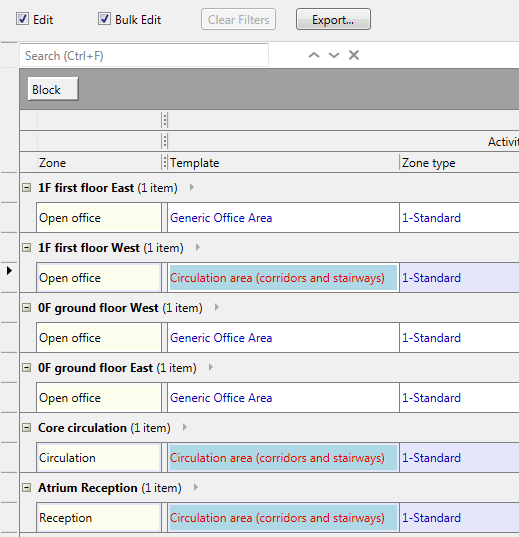
The dialog title identifies the chosen layout (the first chosen layout and "…" if more than one layout was chosen). Below is an example of the data grid view created from selecting 2 layouts at Zone level:
In the top left of the data grid dialog is the Edit checkbox. When the data grid is in edit mode this is checked. It can be unchecked and the data grid will be in view mode in which case data can no longer be edited. If any edits had been made prior to switching to View mode you will be prompted to establish whether the edits should be applied or discarded.
Depending on the level grouping the layout belongs to there will be a set amount of viewable data on the left hand side of the data grid view and default grouping detailed as below:
|
Level |
Set Data |
Default Grouping |
|
Site |
Site Name |
None |
|
Building |
Building Name |
None |
|
Block |
Block Name |
None |
|
Zone |
Zone Name |
Block |
|
Surface |
Surface Name, Type, Area, Orientation, Slope |
Block, Zone |
|
Opening |
Type, Adjacency, Area, Orientation, Slope |
Block, Zone, Surface |
A “splitter” separates the set data and model data attributes on the data grid view.

The grid view header has 3 rows of header information:
For example:

For each of the 3 levels of header information described above it is possible to show and hide columns by right clicking on a column.
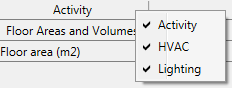
At the “tab” level the top most grouped header will show / hide columns including parent headers and attribute headers beneath:
At the parent grouped header level the 2nd header will show / hide columns including attribute headers beneath:

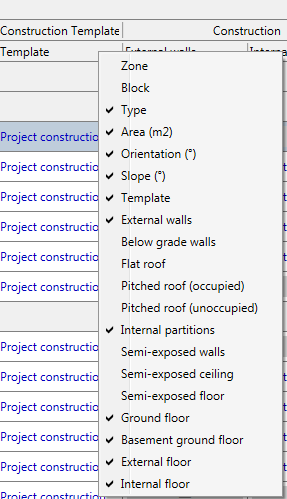
At the attribute header level the 3rd header will show / hide individual attribute columns:
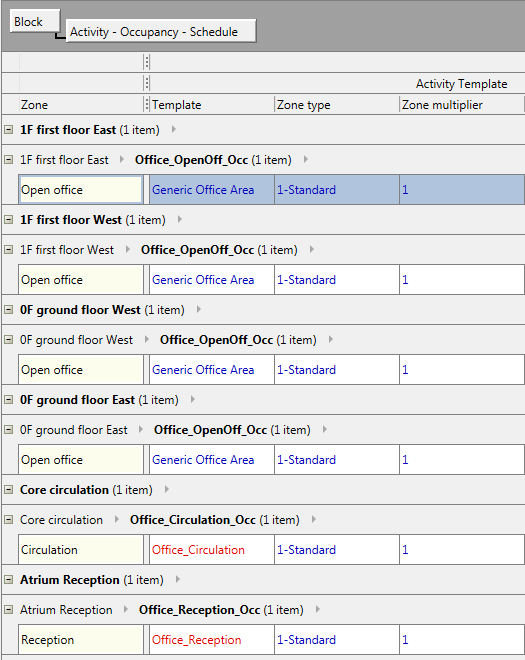
Grouping of attribute columns can be achieved by dragging the desired column into the grouping row:
Rows in the data grid can be filtered. By hovering the mouse pointer at the right-hand side of the attribute column caption a drop down arrow will appear and clicking this will display the filter control:
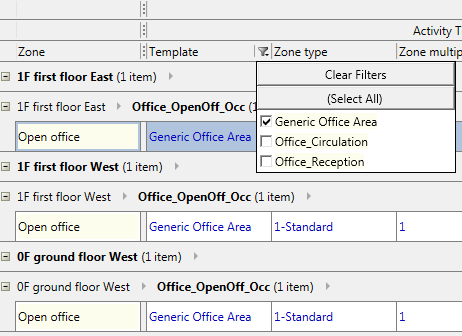
More than one filter can be created on different columns and can be cleared individually or all at once by clicking the Clear Filters button.
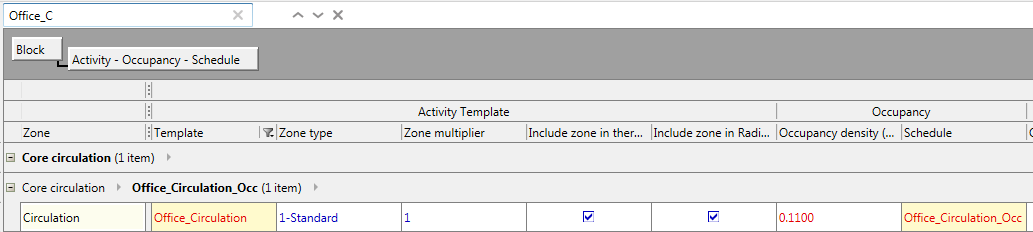
At the top of the data grid is a search box. Any text entered here and matched in the data grid will be highlighted in a yellow/brown colour. Search matches can be navigated via the search up and down arrows. The "x" symbol closes the search box (cancelling the search), which can be re-opened by entering Ctrl+F on the keyboard.
The visible data grid view may be exported to a comma separated file (.CSV) for subsequent editing in another program, e.g. in MS Excel. Clicking the Export button will launch a dialog to specify the file name and choose its location.
Data in the exported CSV file can be edited in a spreadsheet tool, saved and imported back into the model.
Tip: To edit a CSV file that was exported by the Model data grid tool, simply double-click on it from Windows Explorer. Make sure to save the file in CSV form as well if you intend to import the data back into DesignBuilder.
In edit mode all data cells can be edited except for:

Grey non viewable boxed cells appear when:
- The data is not relevant to view / edit e.g. activity, lighting and HVAC data for merged child zones.
- The data is not appropriate to view / edit e.g. blocking out wall construction data for a floor or roof surface.
- An attribute visibility rule defined in a layout fails the criteria for that rule. E.g. to provide a list of roof windows, a rule might check that the parent surface custom attribute Surface Type has a particular value to decide whether an opening is to be displayed.
Clicking in a selected cell will set it into editing state.
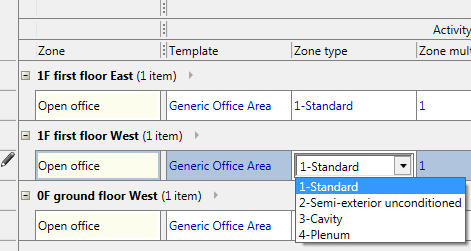
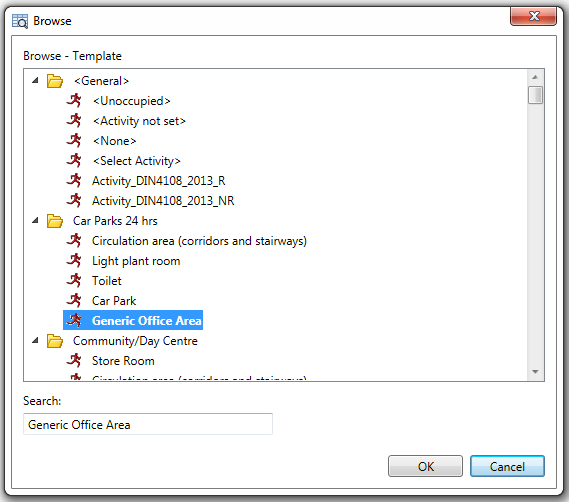
The following type of edits are available depending on the type of model data:
The Model Data Grid View uses colours to provide extra information about the data.
On the main model data dialogs DesignBuilder uses text colours to indicate which values are inherited from levels above in the model hierarchy using blue. Values that are hard set (i.e. not inherited) are displayed in red. A similar colour coding system is used in the Model Data Grid View. In general values that are hard set are shown in red and values that are inherited are shown in blue. There are a couple of differences in the grid though:
Values that have been edited in the current grid edit session are shown in red (even before they have been saved to the model). All other values are shown in blue.
Detailed HVAC objects don't use inheritance and so are treated differently. Data for HVAC objects is always displayed in blue, unless it has been edited in the current session.
The cell background colour is generally white with the following exceptions:
Cells with data that can be viewed but not edited are displayed with a light yellow background.
Cells that are not available for display or edit are shown with a grey background (see also above). In the case below the Floor area per person data cannot be edited if the zone is not occupied: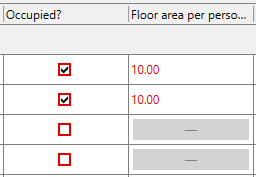
Rows that are selected are shown with a blue/grey background colour:
Rows that are selected for Bulk edit are displayed with a lavender background colour:
Rows that contain a search term typed into the Search bar at the top of the grid are shown in a dark yellow colour.
A selected data cell’s content can be copied to the clipboard via <Ctrl>+C or a right click context menu:
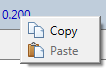
Where the type of model data is appropriate to paste into a data cell the <Ctrl>+V or the Paste menu item will be available to paste what is on the clipboard.
Multiple rows on the data grid can be selected by holding down the <Ctrl> key and left mouse clicking additional rows for selection or by holding down the <Ctrl> key + <Shift> key and clicking rows below for contiguous selection.
When 2 or more rows are selected, the Bulk Edit check box towards the top left of the data grid dialog can be checked and bulk edit mode will be enabled for the selected rows with the currently editable rows becoming highlighted with a lavender (blue/purple) background colour:
Editing a data cell for one of the selected rows will change the data cell for the corresponding data cells in the other bulk edit selected rows:
Unchecking the Bulk Edit checkbox will return the data grid to its previous edit mode state.
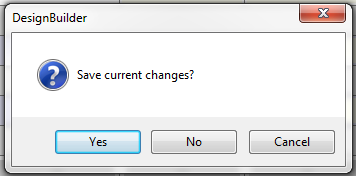
Current changes may be applied to the model by clicking the “Apply” button. If there are changes yet to be applied and either the dialog is closed or Edit mode is switched back to view, there will be a confirmation dialog to determine what should happen next:
If switching from Edit mode to View mode and the “No” option is chosen the latest changes will be reverted to what is stored in the current model.
Note: Applying changes is not the same as saving the file. Any changes applied to the model still require the model file to be saved.
You should take care when making changes in the grid to ensure that you enter valid values or make valid selections. In the main model data user interface, irrelevant settings are hidden, drop lists and browse lists are configured to display only allowed values and numeric range checks are applied depending on the specific model settings and configuration. However the grid does not provide the same level of responsiveness and so, while the drop lists and browse lists will generally provide allowed settings, in some cases extra settings that do not apply will be displayed in the grid. If in doubt about which settings need to be edited please refer to the allowed values in the help and to the main model data user interface which is fully responsive to settings.
Important Note: You should be especially careful with making changes to Detailed HVAC components many of which have complex rules to show/hide data based on other settings which have not yet implemented for the MDGV. More specifically, while the main HVAC component dialogs display only data that is relevant to selected options, the Grid edit HVAC views show all data settings regardless of whether they are relevant or not. The MDGV layouts will be tidied in future to only show relevant settings, but in the meantime care is needed when using the MDGV for HVAC data to ensure that you are editing the right settings.