The example below shows how to use DesignBuilder to set up and run a basic one-click LCA analysis. It includes an assessment of the embodied carbon in the opaque and glazed constructions, shading components, and a PV panel of a simple 2-storey model.
1. Start by opening DesignBuilder and creating a new project.
2. The location of the project is not important for our purposes. In this example you can choose the default location.
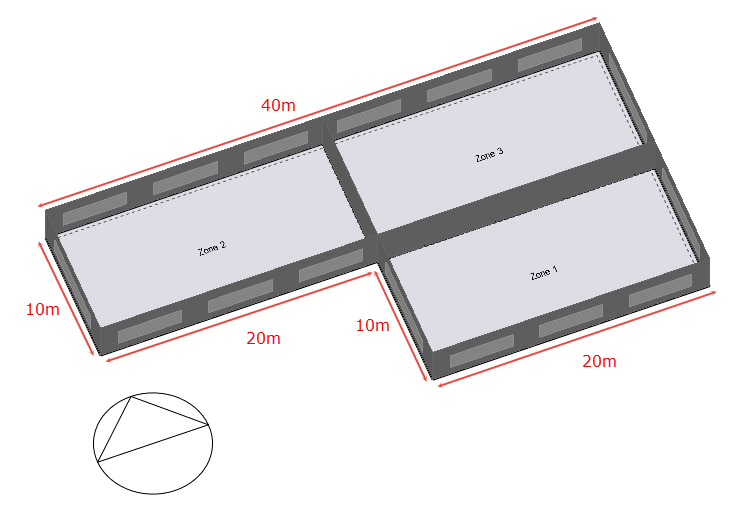
3. Add a building and create an L-shaped block with the dimensions below and partition it into three equal-sized zones.
Clone this block to create an identically dimensioned second block.
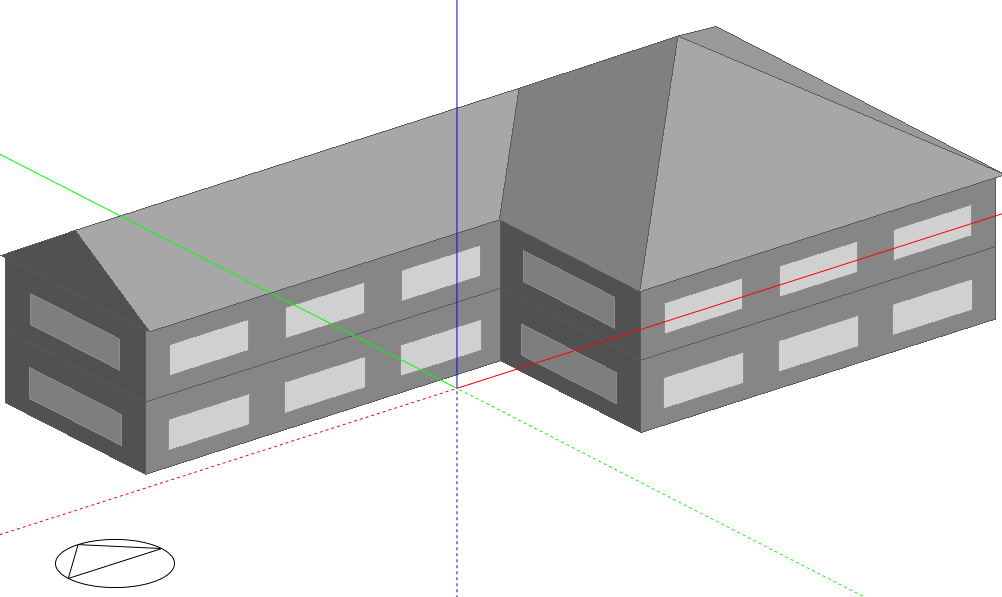
Draw an unoccupied gable roof block on top of that.
The model should now look similar to the screenshot below.
4. Next, create a custom wall construction by editing the default “Project wall”.
a. Change brick thickness to a typical thickness of 0.1025m.
b. Change insulation thickness to 0.1m.
5. Similarly, for glazing, create a custom glazing component by editing the default “Project external glazing” component.
a. Choose "Generic Clear 4mm" for both inner and outer layers.
b. Choose "ARGON 13MM" for the cavity in between.
6. Shading will be represented using a set of 4 component blocks.
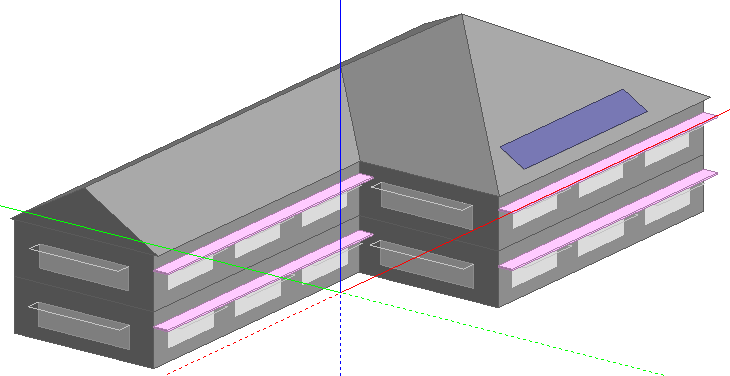
a. Draw a 1m overhang component blocks over one of the 20m the south-facing facades.
b. Clone it 3 times to give 4 component block overhangs.
c. Alternatively, you could use a Local shading component to achieve a similar effect, setting the shading material on the local shading dialog.
7. Now add a PV panel.
a. Draw a large 12 x 2m panel on the South-facing roof
b. Connect it to a Load centre:
• Go to building level and open the Generation model data tab.
• Check the Include electric load centres checkbox
• Set the Number of electric load centres to 1.
• Copy the default "DC with Inverter" library component.
• Rename the copy to "PV with inverter".
• Edit the new "PV with inverter" Electric load centre.
• On the Generator list tab of the Electric load centre dialog, select the “Solar collector 1” PV panel, just added
• Select the new Load centre.
The model should now look similar to the screenshot below.
We’re now ready to export to the data to One Click LCA.
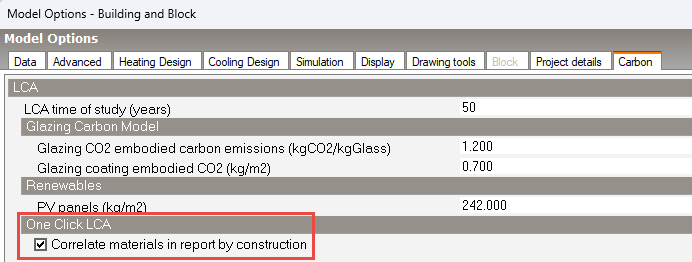
Before exporting the model to One Click LCA, you should consider checking the Correlate materials in report by construction setting on the Carbon tab of the Model options dialog. This allows you to track the source of each material instance in construction and glazing components and component blocks by creating a separate line item for each, instead of simply summing the quantity of each material.
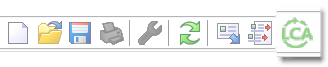
8. When the model has been set up as required, click on the One Click LCA toolbar icon (below) to start the submission process.
9. As DesignBuilder processes the model, if any errors are encountered, you are asked if you would like to review them.
When you are prompted to save the materials inventory in a report, enter the name of the report to be saved on your local machine and press the Save button.
10. Once the report has been created, you will be asked whether you would like to upload it to One Click LCA. 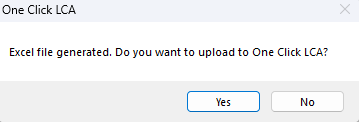
11. Before you upload it, you should check the materials inventory in an external spreadsheet tool such as Excel, and if necessary, make any adjustments before uploading it.
If you applied the Correlate materials in report by construction Model option setting, the report will look similar to the screenshot below. Note the "Comments" column, which shows the source construction/glazing component for each material line item. Otherwise, the "Comments" column will be left blank.

12. When you are happy with the report, close it and click Yes to upload it to the One Click LCA website.
13. From here, follow standard One Click LCA guidance for reviewing and modifying LCA reports.